Over the past 3 months I've been creating a short film for the MY RODE Reel short Film competition. its accompanied by a Behind the scenes extra: if you'd like to vote follow the link bellow: http://www.rode.com/myrodereel/watch/entry/599
0 Comments
I few weeks ago I made some advertisements Here's the results! (i'm not affiliated with Nike) 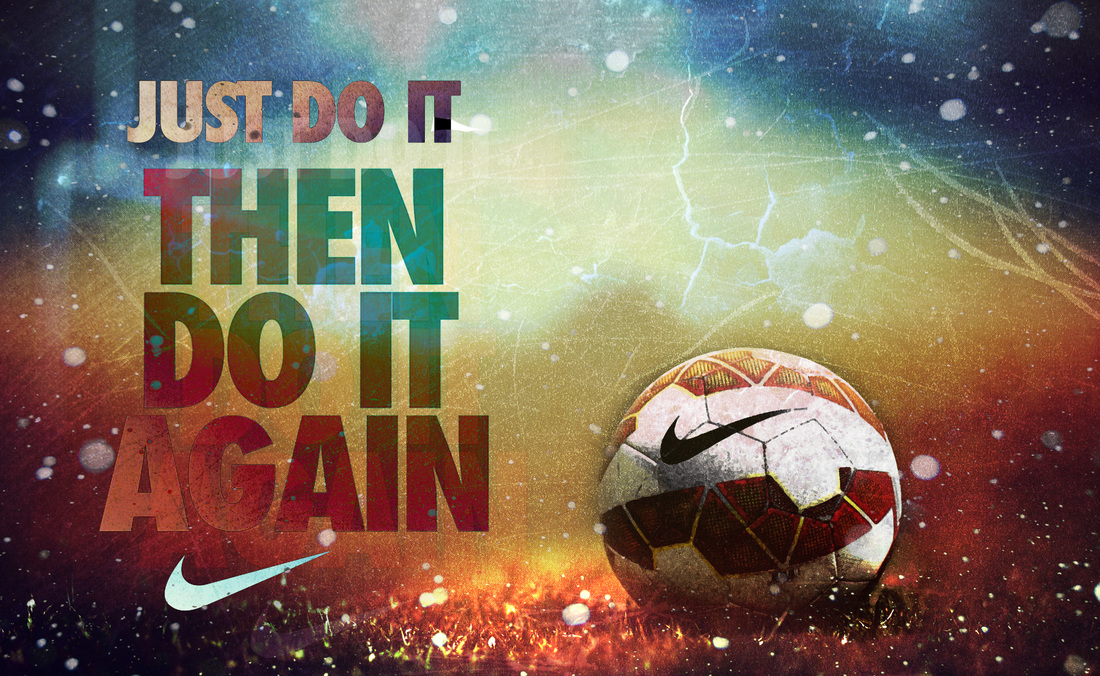
Time lapses can be fun and its pretty simple to pull off but something i learned from making time lapses is to manually set your exposure and white balance so your video doesn't drastically change every frame. Here's mine... Pato's filmmaking tips!
If using a dolly always bring some cardboard as a substitute for tracks if you don't have any When working with people not familiar with filmmaking always bring something like ice blocks or hot chocolates/coffee depending on the weather Take frequent 5-10 minute breaks Bring several spare battery's! You Will need them! Bring along someone who can hold a light reflector or diffuser so you can (quite literally) "focus" on focusing your image if it dosent to it automatically. (manual focus is recommended) BRING EVERYTHING YOU COULD POSSIBLE NEED! For an example I was shooting videos indoors and you wouldn't expect that you would need a polariser but my UV filter was creating a bit of glare on the lens so if I had a polariser I could of fixed that and got a better image! Protect your gear! Make sure you keep (your camera especially) your equipment cool if it gets to hot some things like your battery will drain faster. Take a wide shot of your sequence and watch it play out, then you can decide on the intimate camera shots and angles or pans whatever you feel will look the best Evaluate your shot and use the rule of thirds Shoot your scene in a wide as your "master shot" so when editing you can always cut to that wide if you need to. Experiment with different angles. The positioning of the light of a person can change the viewers perception of the character. E.g. If your actor had soft light from a diffuser falling on him it's allot more flattering and the actor wouldn't look threatening whereas if your actor had hard light creating harsh shadows on his face he might look a bit more threatening and scary. so over the past few days a bushfire has been effecting my local area so I've been evacuated to a relatives home. this being such a scary time for the residents that are effected by the fires including myself.
SO! I decided to document the fires and try selling some of my photographs with local news paper companies. i did this for several hours so I learnt a few things from it which i'll share with you! -NEVER be afraid to shoot a photo of someone keep in mind that most people don't want a camera shoved in there face so using a tele lens is advised -don't travel heavy all you really need is a bottle of water and a camera with a zoom or tele lens -capture as much of the scene as possible -share your work with the public here are some of my shots! who needs a macro lens when you have your standard kit lens! so i found this out a few months ago but there's this cool little trick you can do with any lens where you detach the lens from the body and flip the lens around and you all of a sudden have this awesome macro lens! unfortunately you cant focus but if u get closer or further away to your subject it will focus itself so using a tripod and a reverse mount macro ring is advised! when your taking these macro photo's you get a beautifully shallow depth of field (f.0). also remember if u want to zoom in to your subject turn the lens to its widest field of view and the opposite if you wanna zoom out! (ATTENTION! if you use live view be careful to not damage the sensor. i'm not responsible for a broken camera.) Macro ring: http://www.ebay.com.au/itm/Reverse-Macro-Adapter-Reversing-Ring-49-52-58-67mm-Canon-Nikon-Pentax-Lens-Mount-/200977083611?pt=AU_Cameras_Photographic_Accessories&var=&hash=item2ecb2aecdb My Reverse Mount Macro Photographs! |
